How to Cut a Leather Belt to Size at Home
A well-fitted leather belt not only enhances your style but also ensures comfort throughout the day. If you find yourself with a belt that's a bit too long, don't fret! In this guide, we'll walk you through the step-by-step process of resizing a leather belt at home, allowing you to tailor it to your preferred length and achieve that perfect fit.
2. Securing the Belt: To prevent the belt from moving during the cutting process, secure it to a stable surface using clamps or any other suitable tools. This ensures a steady hand and precise cuts.
2. Tips for Precision: Keep the knife at a consistent angle for clean cuts. If you're new to cutting leather, practice on a scrap piece first. This will help you get a feel for the material and the tools.
2. Optional Beveling: For an extra touch of craftsmanship, consider beveling or rounding the edges of the belt. This not only adds aesthetic appeal but also contributes to the overall comfort of the belt.
2. Creating Clean Holes: Use a leather hole punch or an awl to create clean, precise holes. Take care not to damage the surrounding leather, and test the fit of the belt as you go.

You can also watch a video: How to cut your leather belt to size - YouTube
Tools and Materials:
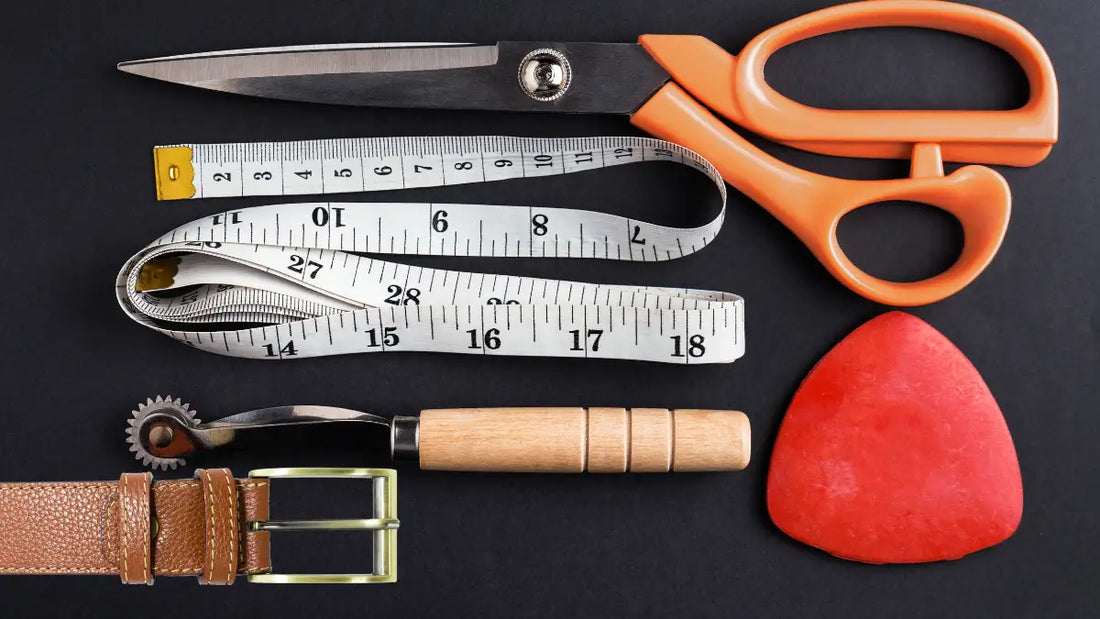
Before you embark on this DIY adventure, gather the necessary tools and materials. You'll need a ruler, a utility knife, a cutting mat, and, of course, the leather belt you want to resize.Preparing the Belt:
1. Measure and Mark: Lay out the belt on a flat surface and measure the desired length. Mark this length using a pencil or tailor's chalk. Double-check your measurements to avoid any errors.2. Securing the Belt: To prevent the belt from moving during the cutting process, secure it to a stable surface using clamps or any other suitable tools. This ensures a steady hand and precise cuts.
Cutting Techniques:
1. Guided Straight Cuts: Place a ruler along the marked line, ensuring it's straight and even. Using a sharp utility knife, make controlled cuts along the ruler. Take your time to maintain accuracy and prevent jagged edges.2. Tips for Precision: Keep the knife at a consistent angle for clean cuts. If you're new to cutting leather, practice on a scrap piece first. This will help you get a feel for the material and the tools.
Finishing Touches:
1. Smoothing Cut Edges: After cutting, use fine-grit sandpaper to smooth out any rough edges. This step ensures a polished and professional look for your resized belt.2. Optional Beveling: For an extra touch of craftsmanship, consider beveling or rounding the edges of the belt. This not only adds aesthetic appeal but also contributes to the overall comfort of the belt.
Adding Holes (if needed):
1. Measure and Mark Hole Placements: If your resized belt requires additional holes, measure and mark their placements along the length. Ensure even spacing for a balanced appearance.2. Creating Clean Holes: Use a leather hole punch or an awl to create clean, precise holes. Take care not to damage the surrounding leather, and test the fit of the belt as you go.
Final Adjustments:
Try on the resized belt to ensure a perfect fit. If further adjustments are needed, repeat the process until you achieve the desired length. Your personalized, perfectly fitted leather belt is now ready to complement your wardrobe.
You can also watch a video: How to cut your leather belt to size - YouTube
